We want to make getting started with AutoPro.io dealer management software (DMS) as easy as possible.
Once you are up and running, adding a vehicle to your inventory, was designed to be as simple as possible.
Even tough the process of adding a vehicle is incredibly easy, upon joining the AutoPro family you may need to add 20,30,50 even 100 vehicles to your inventory right away.
To save you hours of work, we have created a simple way of importing your entire inventory, using a CSV file.
1. Log into AutoPro
Before going any further, make sure you are logged into AutoPro.
If you are are not yet part of the AutoPro family, and would like more information or to schedule a free demo, get in touch with us today!
2. Go to the inventory module
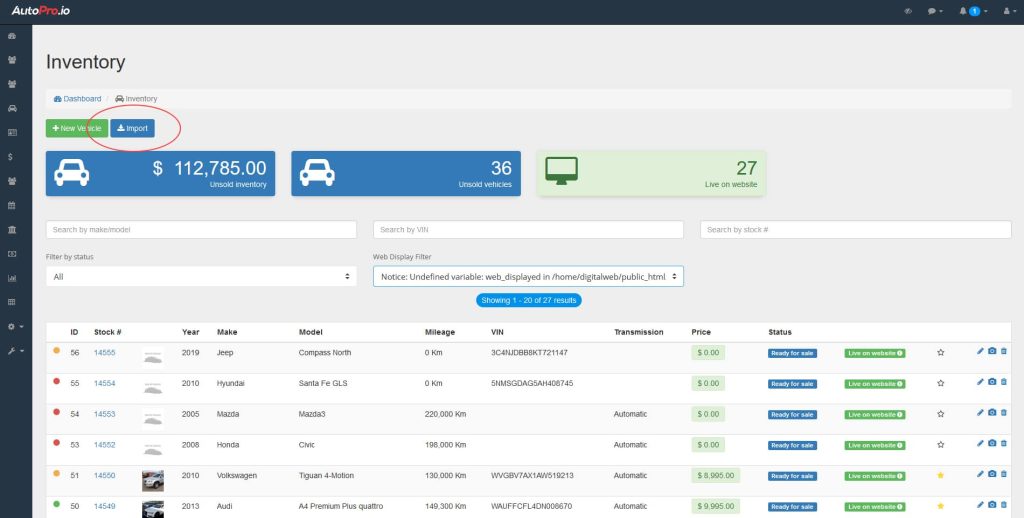
Once you are logged into the AutoPro software, in main menu on the left, click the Inventory tab.
Once you are in the inventory module, click the Import button in the upper left hand side of the screen.
3. Download the sample CSV file
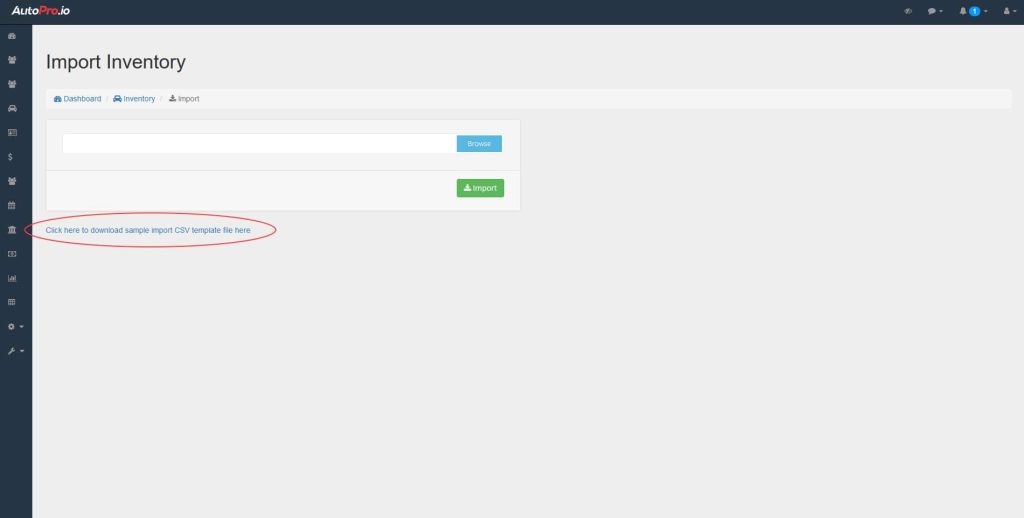
Once you are at the import screen, underneath the file upload widget, you will see a link that allows you to download a sample CSV file.
You can open this file in Microsoft Excel.
Each row represents 1 vehicle, with the columns representing the vehicle attributes.
IMPORTANT: Do not delete the top row of the file or the import process will not work
4. Add your data to the sheet
Copy and paste your inventory into the sheet, respecting the columns as they were set in the sample sheet.
Remember, each row represents 1 vehicle.
Once all of your data is in the sheet, save the file and note the location where it is saved as you will need this file for the upload in the next step.
5. Import your data
Return to the inventory import module in your AutoPro software. If you were logged out for security, simply log back in and follow steps 1 and 2.
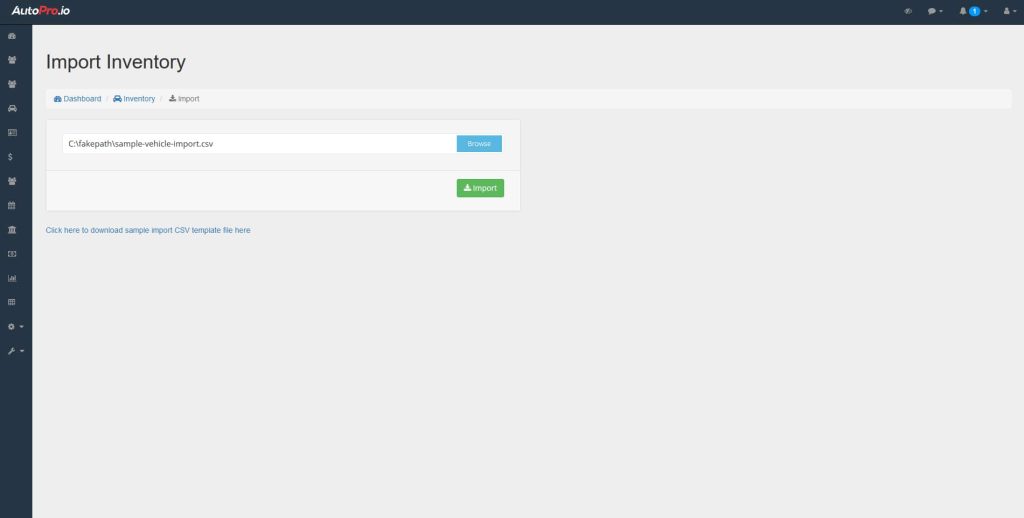
Once you are back at the import screen, click the browse button and locate the file you just created in step 4.
The click save.
That’s it, all of your cars should now be in your AutoPro inventory!

